- Local development
http://localhost:3000.
- Production
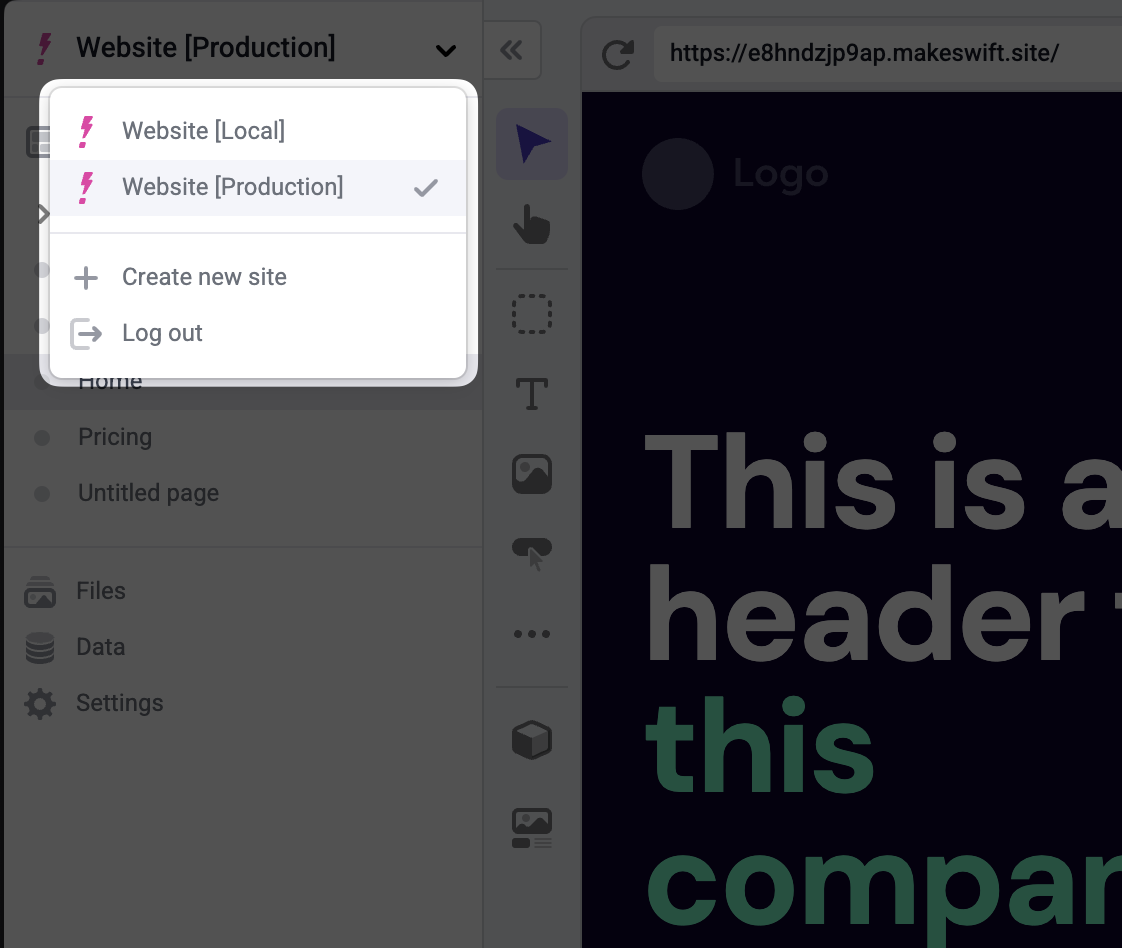
Initial launch
Component development
The first step with any custom Makeswift integration is to identify the primitive components needed for the site design. This is where we often see the first misstep from developers new to Makeswift. Without understanding the builder, it’s easy to assume that you need to build a component for every possible layout. This is not the case. The goal is to build a set of primitive components that can be combined in the builder to create any layout. We recommend familiarizing yourself with Makeswift’s layout controls by creating a few pages in the builder. Once you understand the builder, it will be easier to distinguish between primitive components and layouts that can be composed visually.Examples of primitive components include Buttons, Cards, Carousels, Feeds etc.
Content publishing
Once you’ve stress tested your primitive components in your local development site, the next step is to set up your production site. To do this, deploy your local Next.js app and update the host URL of your production Makeswift site to point to the URL of the deployment.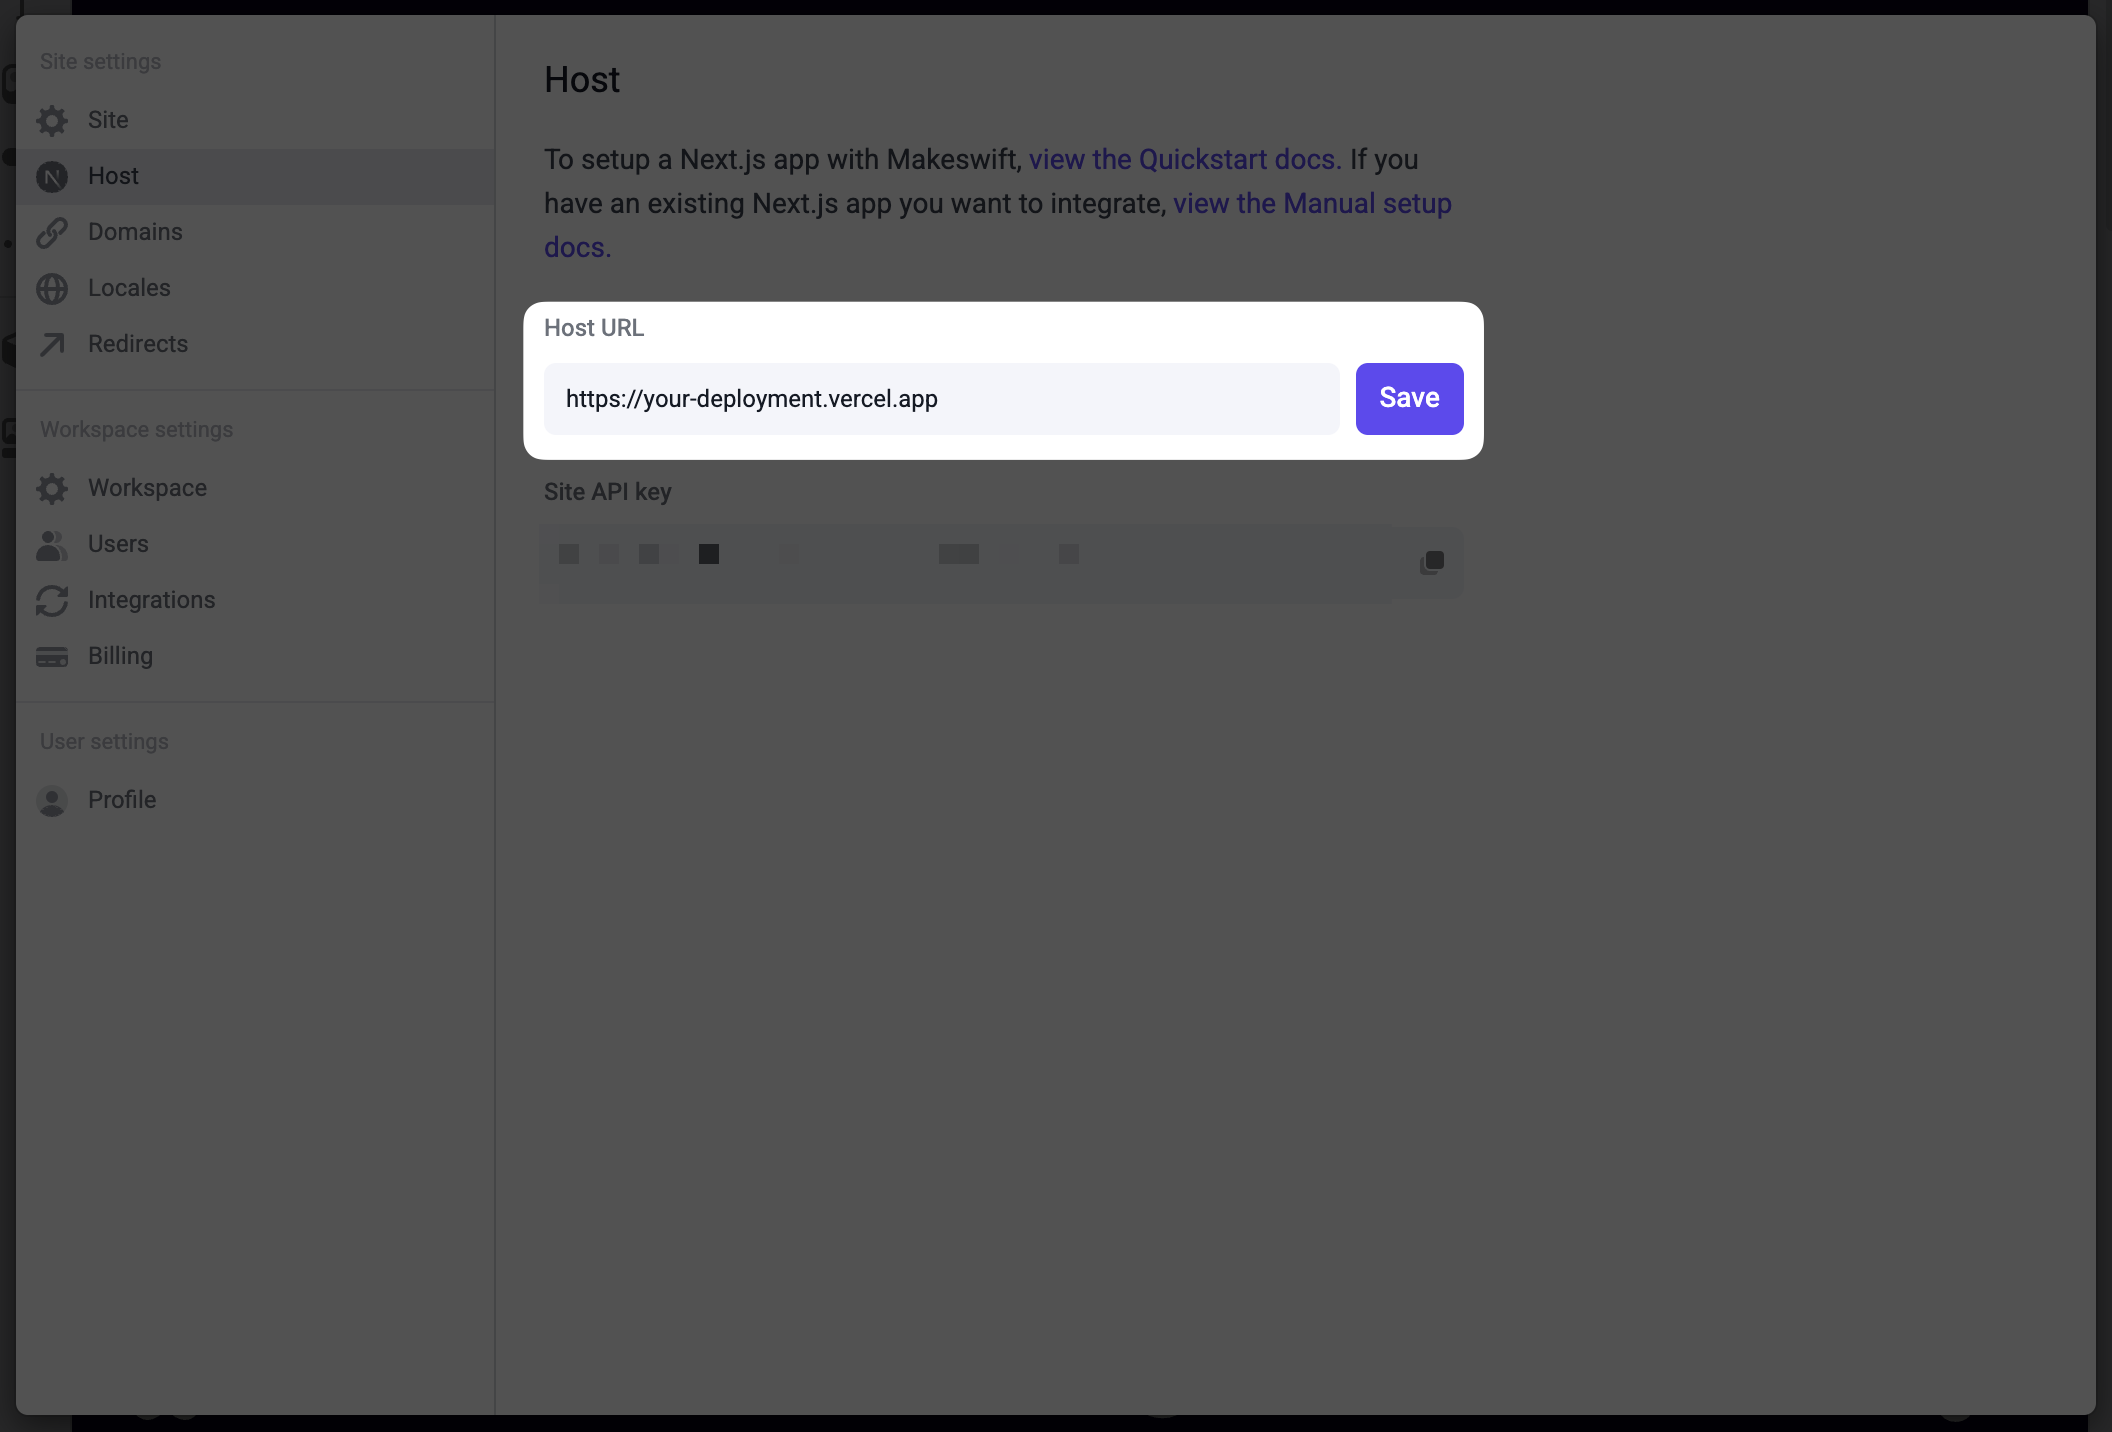
Going live
Once your site is ready to launch, the last step is to update your DNS to point your domain to the deployment URL.Maintenance
Staging content changes
Makeswift leverages Next.js’ Draft Mode in the builder. This means you do not need a separate site for staging. All changes are versioned, and nothing will go into the live page until a publisher approves it. Our recommended workflow is that your marketing team makes all edits in the production site, publishing a batch of edits when ready to go live.Shipping component updates
For the most part, component updates should be shipped asynchronously. Things like style updates that don’t affect component props can be tested locally and then pushed to a preview deployment using your production site’s API key for testing. Once merged, your marketing team will see the updated component in the builder. If component props need to change, we recommend creating a new prop if possible so that the old prop can be deprecated over time. This will allow your marketing team to update pages at their own pace. In the case this is not possible, here is how you can handle breaking changes or changes where content and code need to be shipped simultaneously:Duplicate your site
The first step is to duplicate your production site. All content changes and
publishing should freeze on the existing production site. Rename the
duplicated site to your staging site.
Create a preview deployment
Next, create a preview deployment with your component code changes. This
preview deployment should use the staging site’s API key.
Update the host URL
Update the host URL of your staging site to point to the URL of the new
preview deployment.