This guide requires version
0.24.0 or higher of the Makeswift runtime. Refer
to our Upgrading to 0.24.0 guide for details on
how to update.Add locales in the Visual Builder
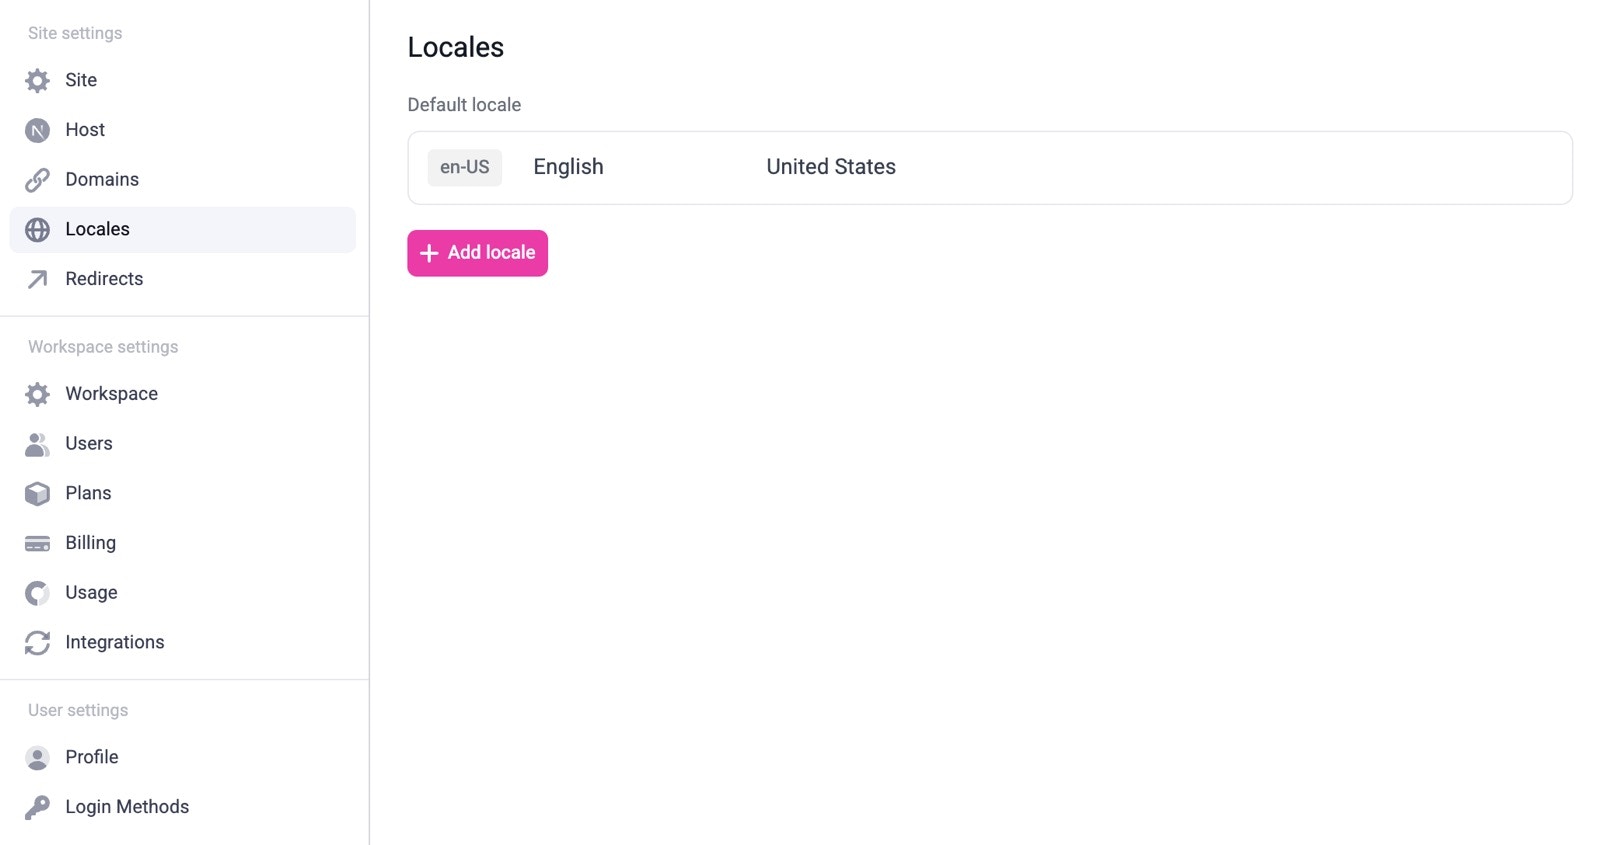
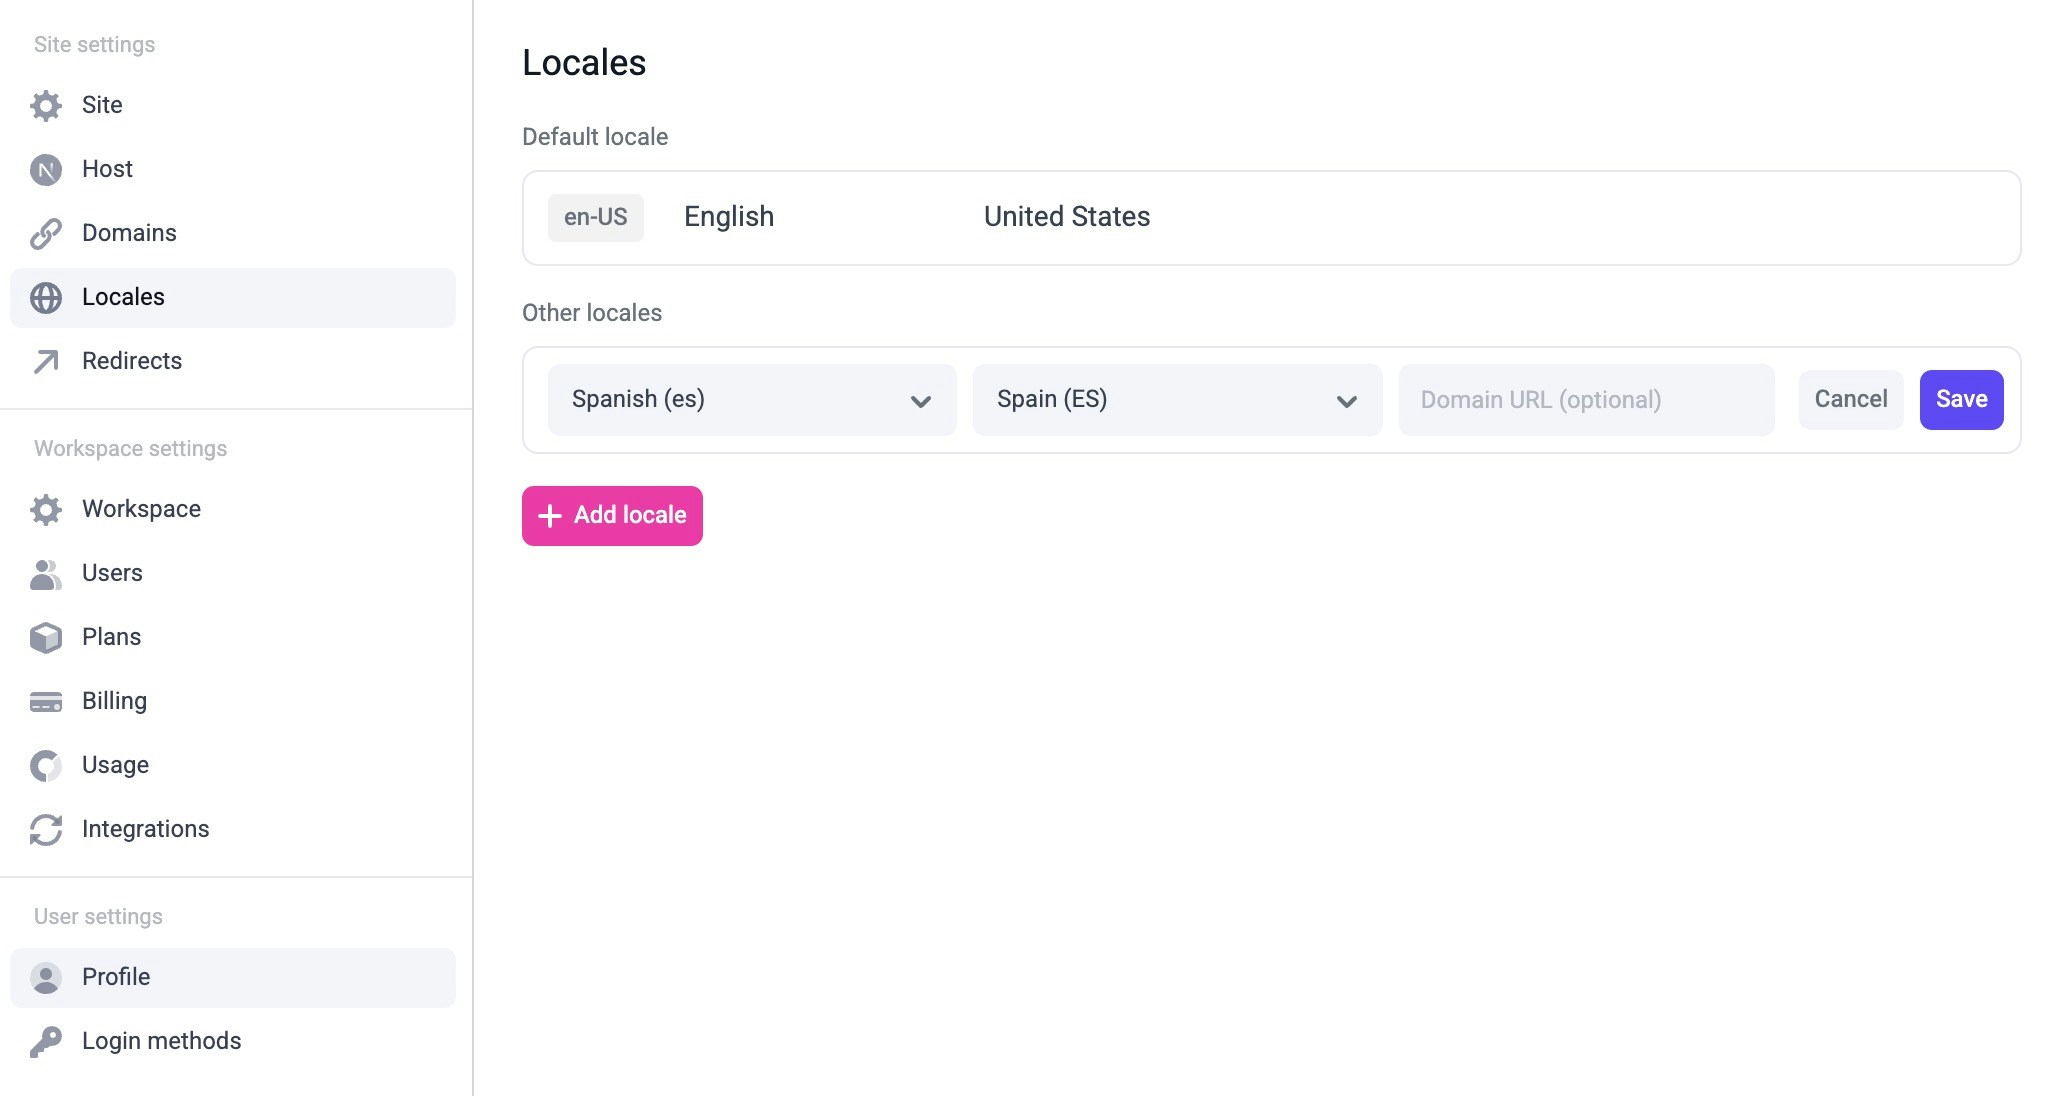
Open site settings and go to the Locales tab:The number of locales you have access to is dependent upon your
plan. Refer to the pricing
page for full details.
Configure next-intl for your application
We recommend using the next-intl package to handle localization. You can follow their App Router setup documentation to configure your application. This guide will walk you through updating your file structure, configure language files, middleware, etc. After following this guide, there are a couple of things you’ll want to double check to ensure everything works well with Makeswift.- Make sure that the exported config in the
next.config.tsfile composes bothwithMakeswiftandwithNextIntl.
- In your root layout, make sure that the newly added
NextIntlClientProviderwraps theMakeswiftProvider.
-
The locales that you configure in code should match exactly the locales as listed in Makeswift. In this case, we’ve used
en-USandes-ES. -
Make sure all of your routing files are nested under
/app/[locale]except for the Makeswift API handler.
Fetch snapshots by locale
Update your catch-all route to fetch the page snapshots by locale.app/[locale]/[[...path]]/page.tsx
Edit your pages in the Visual Builder
Once you’ve set everything up, you should be able to switch to the locale using the locale switcher in the Visual Builder.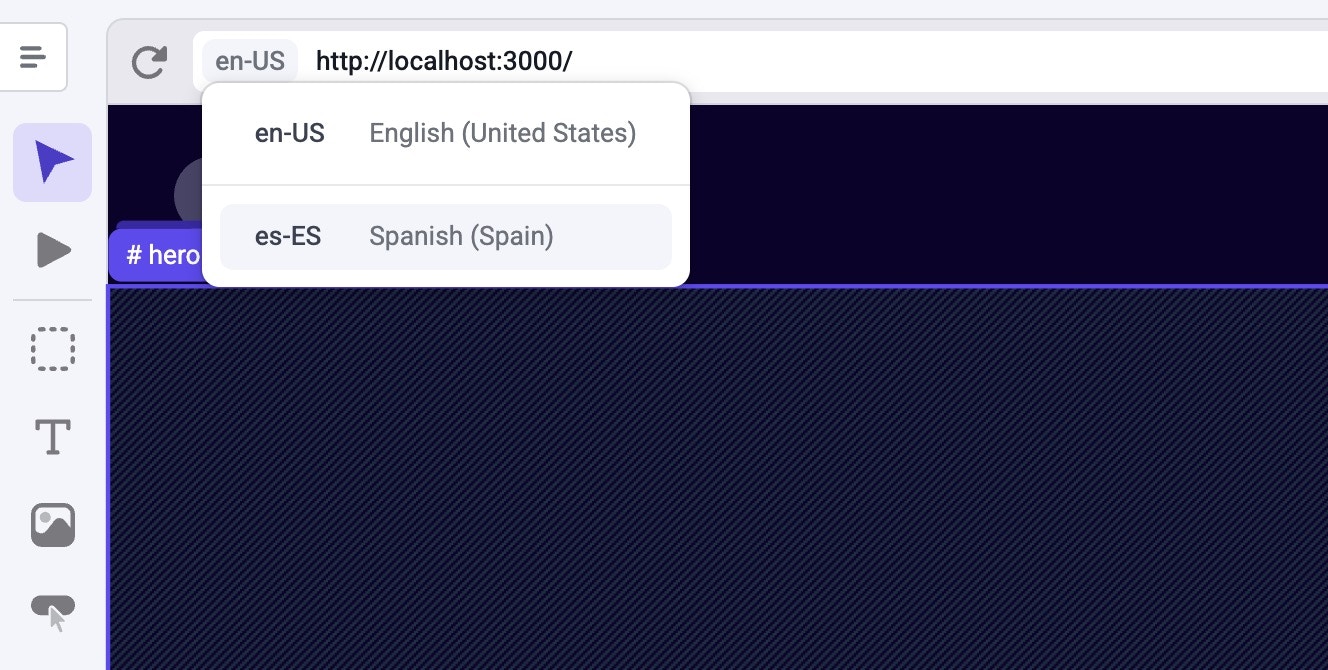
en-US to es-ES), you’ll notice a message that informs you that the localized page inherits from the default locale. To stop inheriting from the default locale and start customizing the content for the localized page, click the Edit for this locale button.
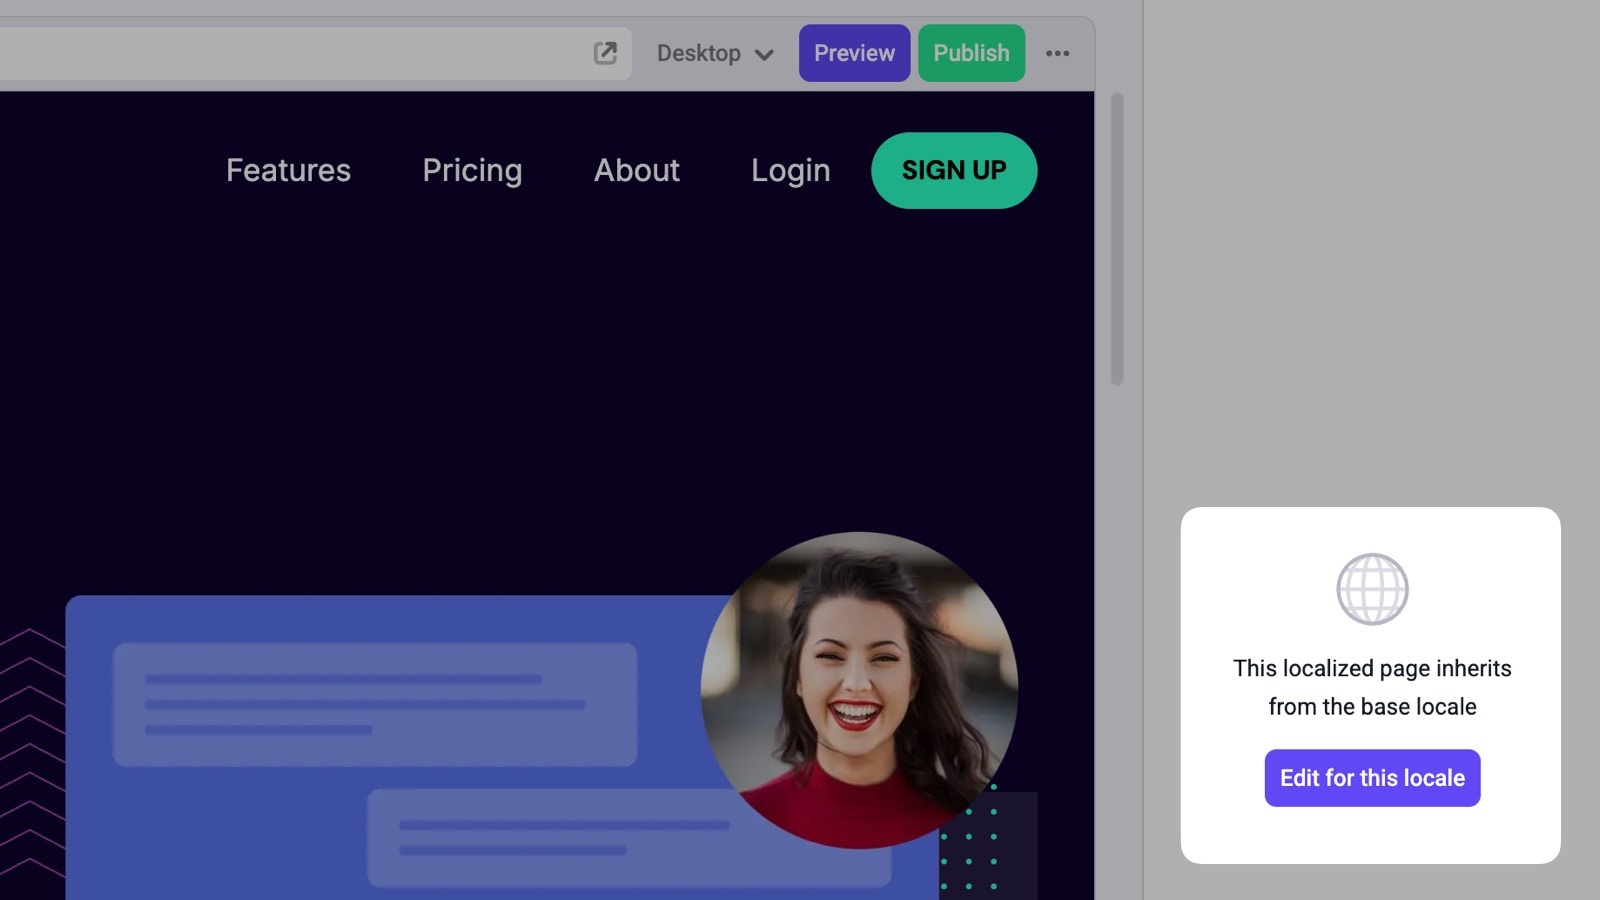
You can also customize the path for each page in each locale in the page’s
settings. For example, if you have a company page at
example.com/company,
you can create the Spanish version of the page at example.com/es/compania or
example.es/compania.Localized resources
When making changes on a different locale you can override any property, including the page’s pathname, metadata, and SEO tags.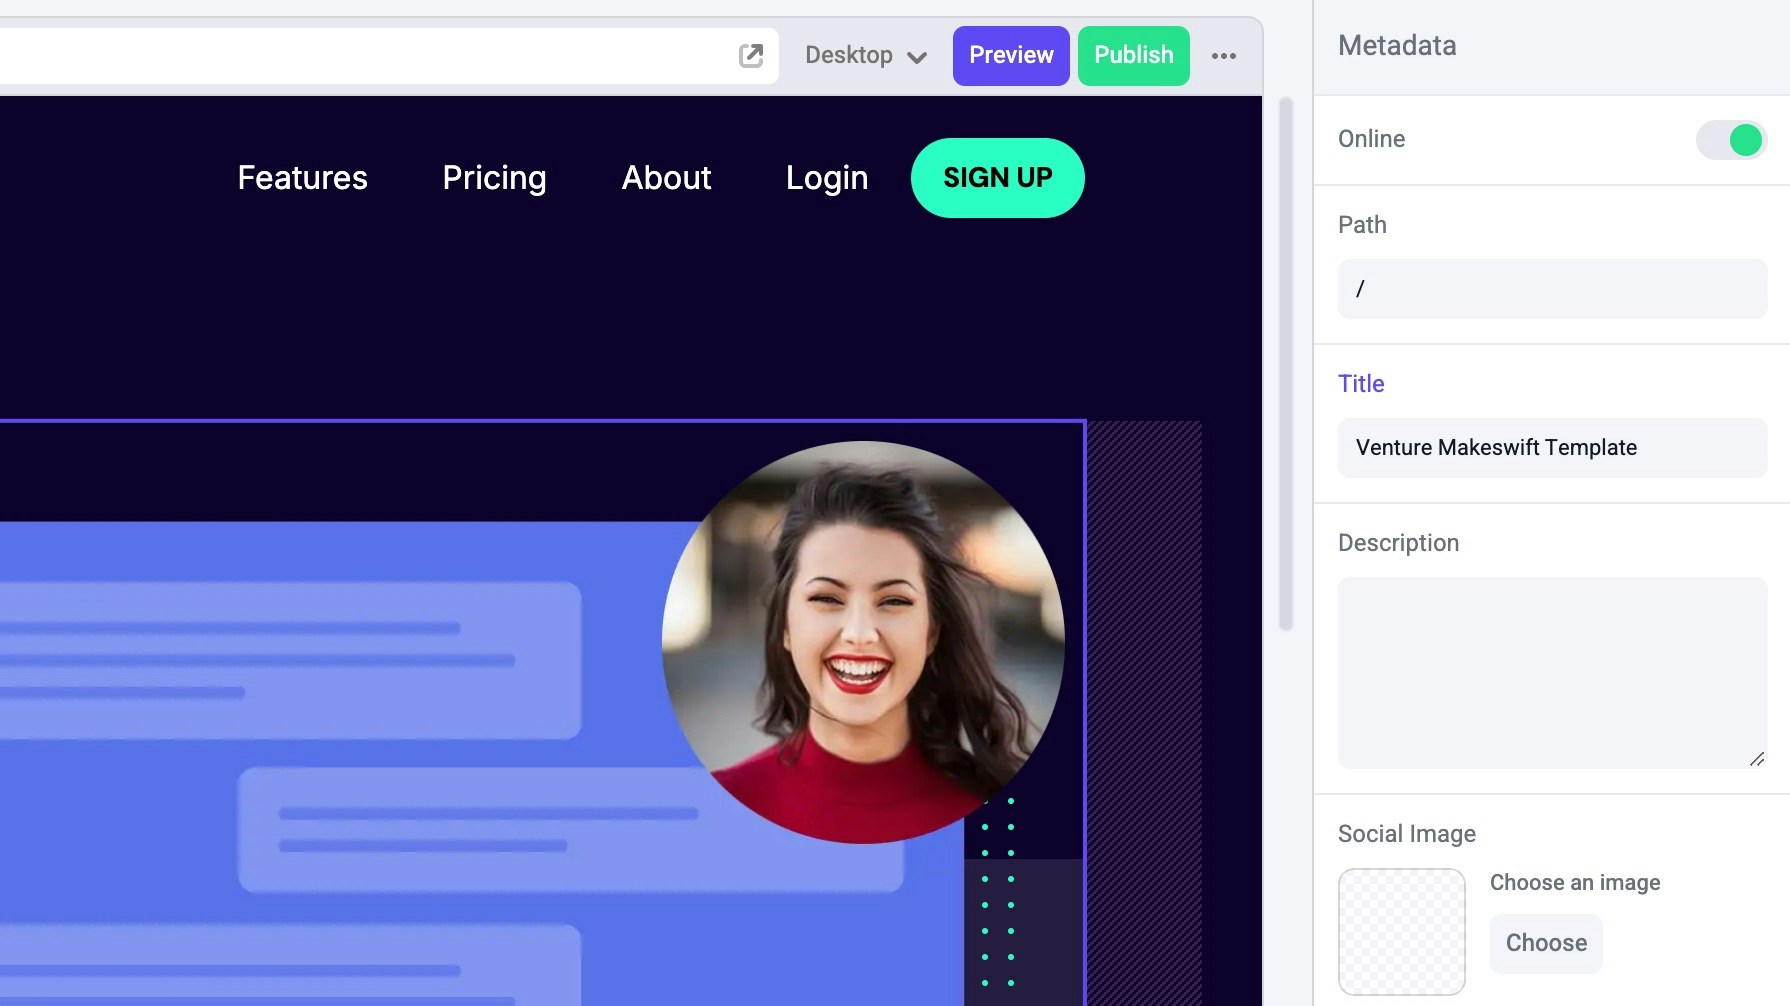
Publishing
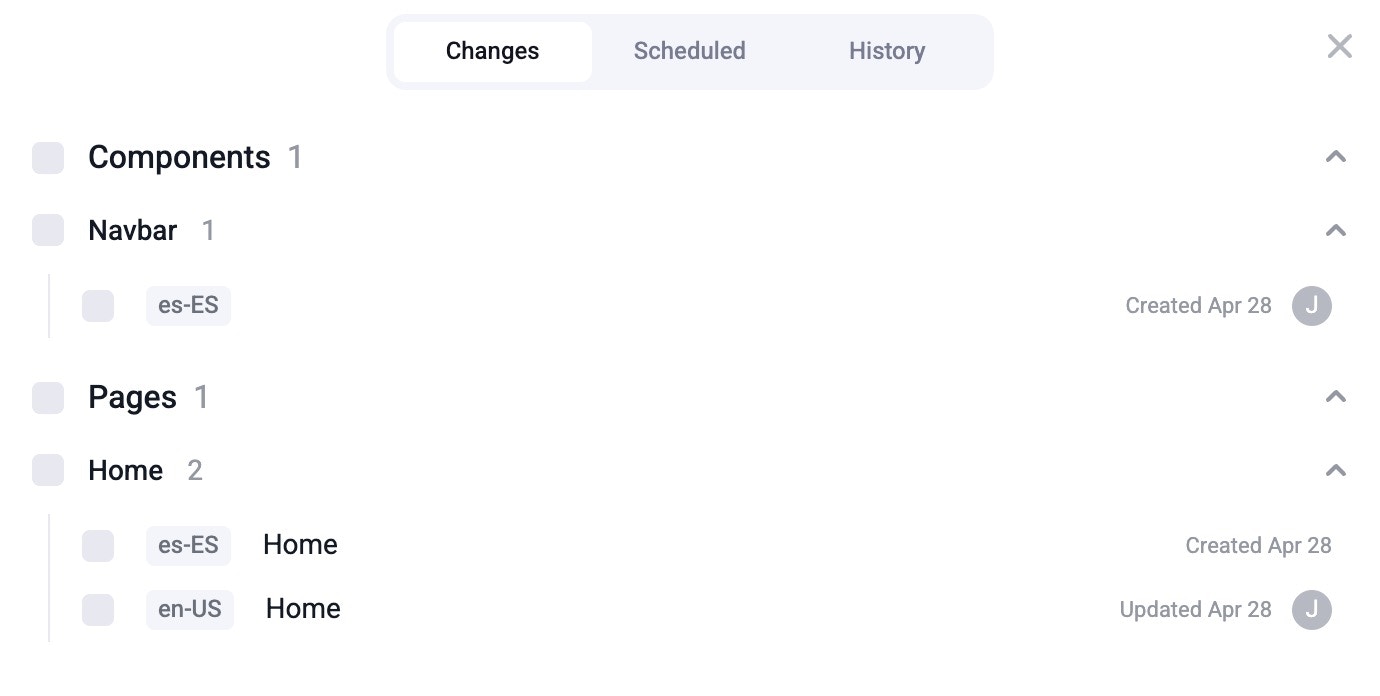
Remember that localized content (pages, components, etc.) needs to be published just like any other resource. After you’re done making all of your changes, publish them for these changes to go live. In the publish dialog, you’ll be able to see the locale attached to each resource.