Pages Router
This guide walks you through setting up localization for your Makeswift site so you can visually customize your site for different locales.
If you don’t already have a Next.js project using Pages Router set up with Makeswift, follow the Pages Router Installation guide.
The feature is deeply integrated with Next.js’ internationalization features.
Add locales in the Visual Builder
Open site settings and go to the Locales tab:
The number of locales you have access to is dependent upon your plan. Refer to the pricing page for full details.
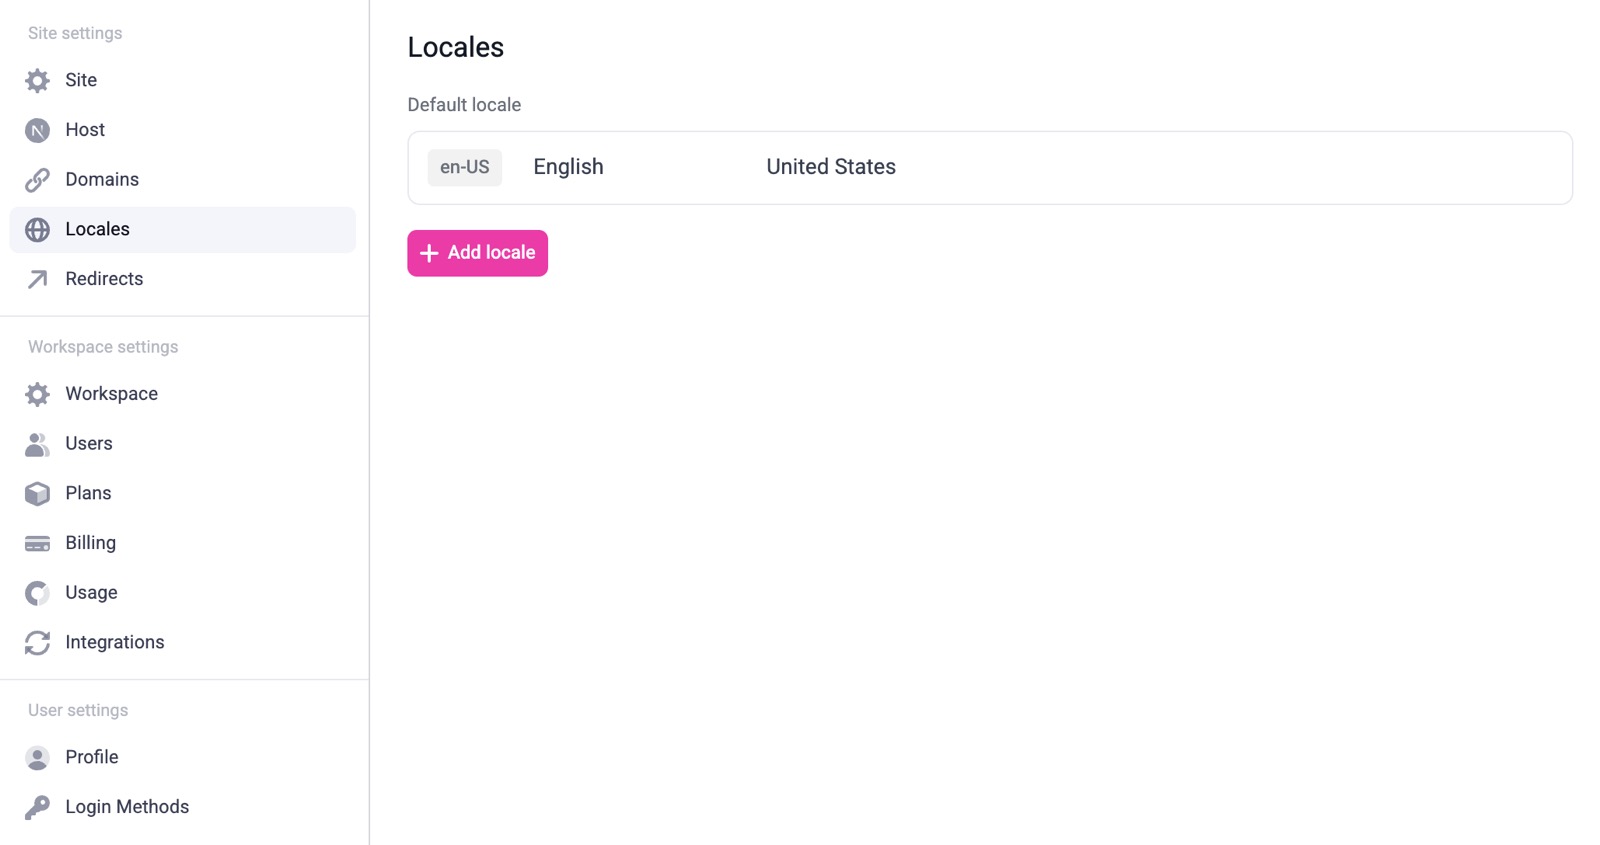
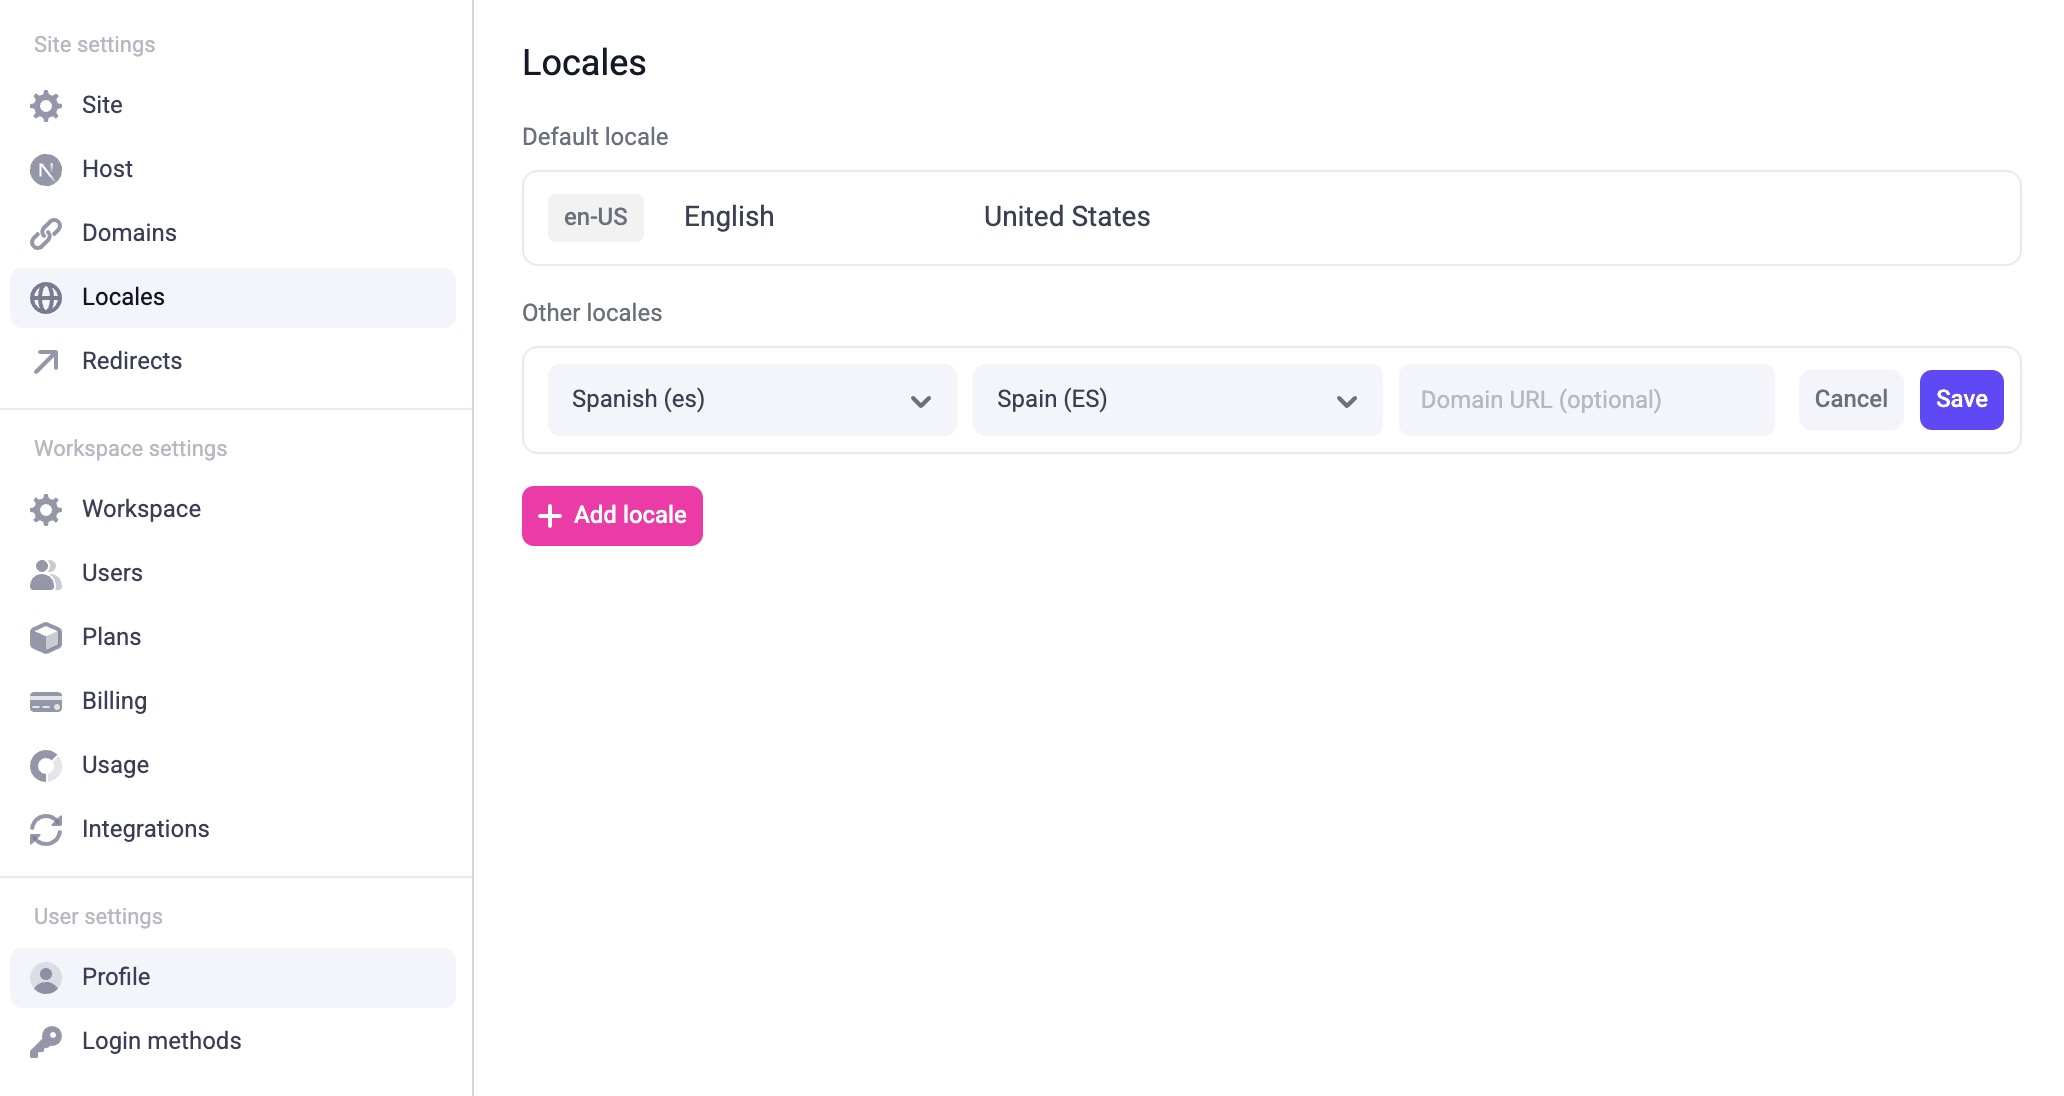
To add a new locale, click the + Add locale button. In this case, we’ve added es-ES. You can then modify and delete a locale (except the default locale) by hovering over it and clicking the settings icon.
Configure locales in your Next.js config
The locales in your site settings in Makeswift need to match the locales configured in next.config.ts. Without matching these exactly, pages in the Visual Builder will not load properly.
To match the locales on the screenshot above, update next.config.ts to be like this:
Note that in next.config.ts, you also need to put your defaultLocale in locales.
In this example, that would be en-US.
Fetch snapshots by locale
Update your catch-all route to fetch the page snapshots by locale. This requires you to pass the locale from getStaticProps to getPageSnapshot. This code is usually located in [[...path]].tsx, but it might be different depending on your setup.
You’ll also need to pass the locale to the <ReactRuntimeProvider> component by updating your _app.tsx like so.
At this point, the new locale is live, and site visitors can access the corresponding localized routes. However, until you localize your pages, they will continue to display content from the default locale. Read on to learn how to start localizing page content in the Visual Builder.
Edit your localized pages
Once you’ve set everything up, you should be able to switch to the locale using the locale switcher in the Visual Builder.
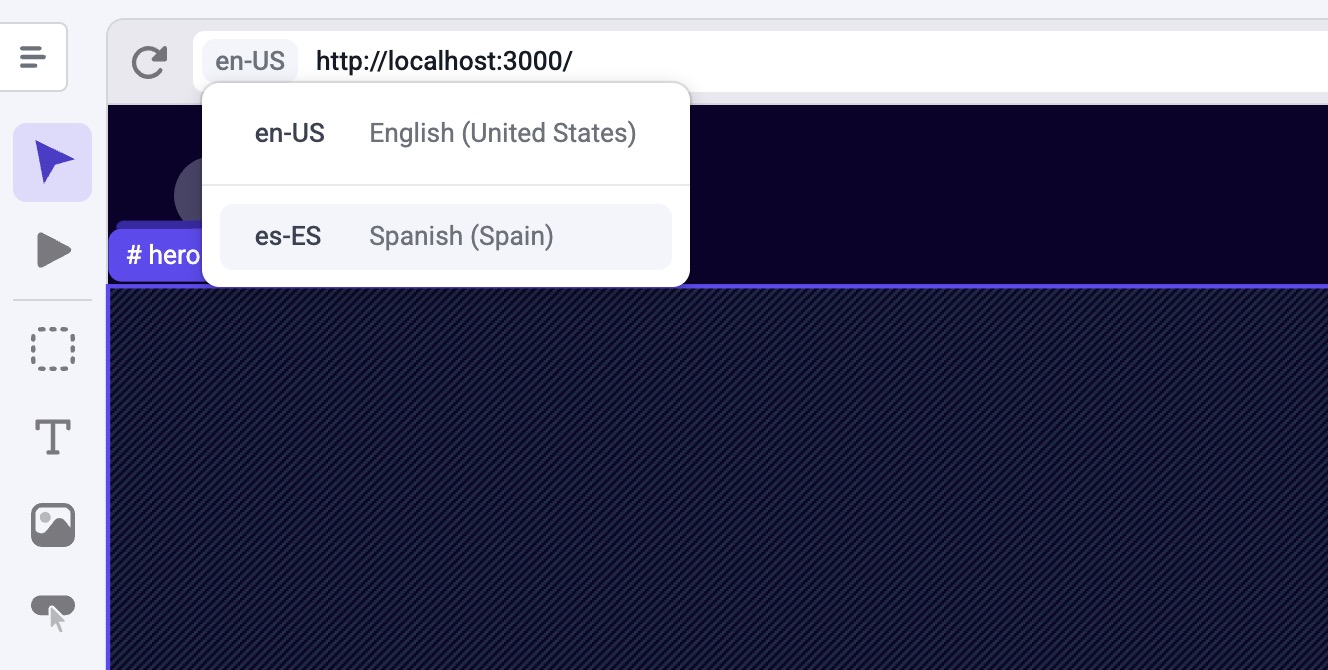
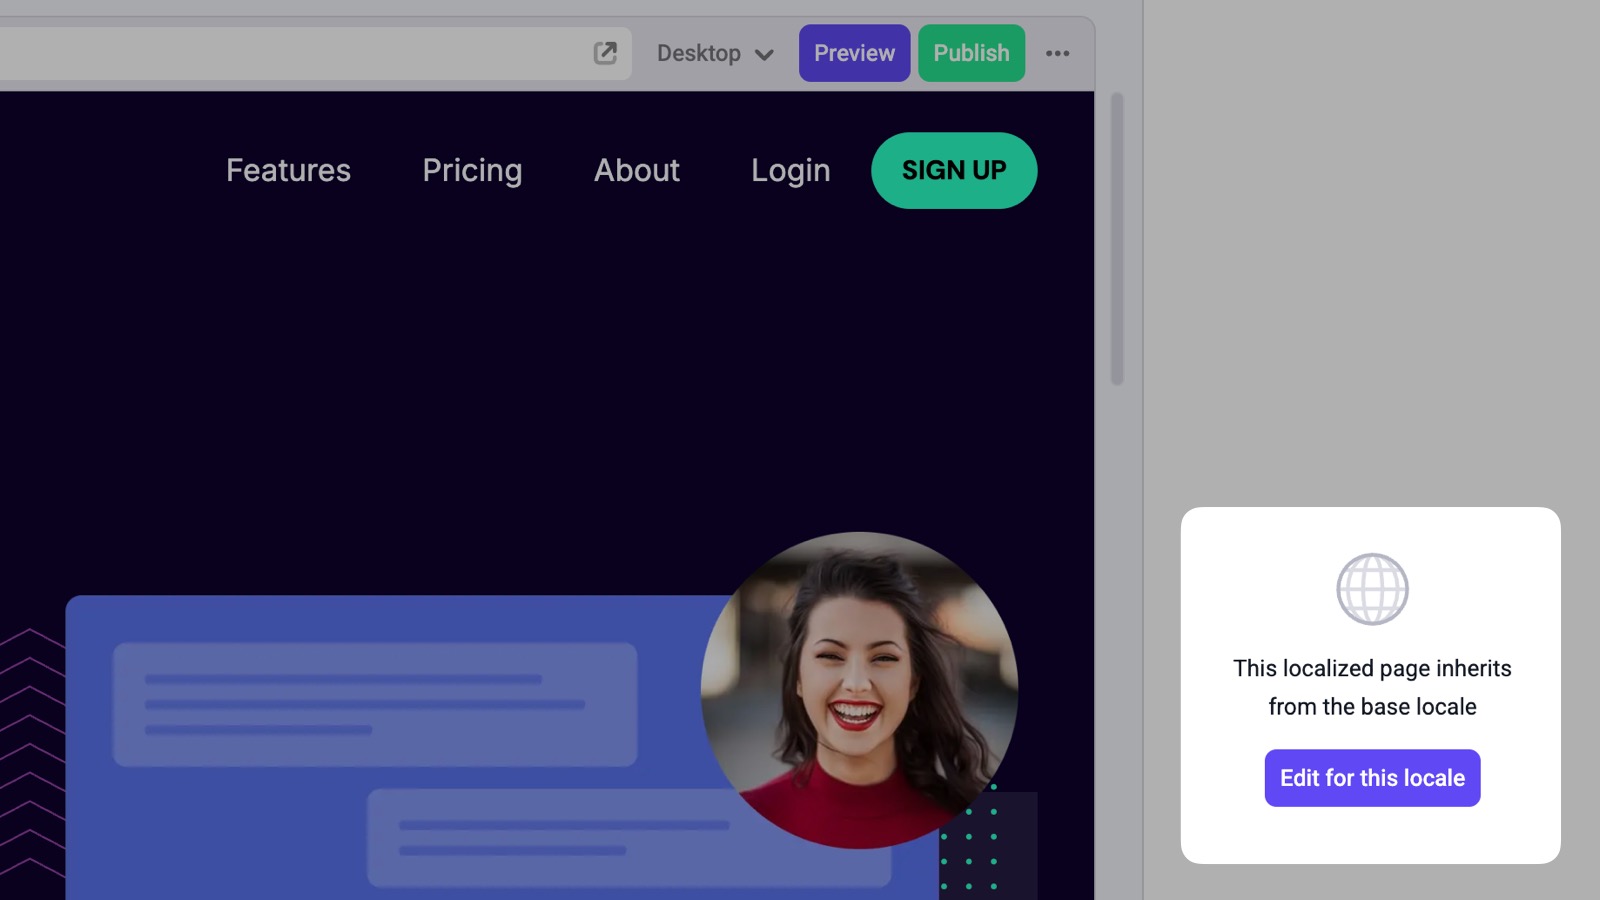
When you switch to the new locale (in this case switching from en-US to es-ES), you’ll notice a message that informs you that the localized page inherits from the default locale. To stop inheriting from the default locale and start customizing the content for the localized page, click the Edit for this locale button.
Note that until you edit and publish the localized page, it will continue displaying content from the default locale. Any changes you make after clicking Edit for this locale will apply only to the localized version and won’t affect the base locale.
You can also customize the path for each page in each locale in the page’s
settings. For example, if you have a company page at example.com/company,
you can create the Spanish version of the page at example.com/es/compania or
example.es/compania.
Localized resources
When making changes on a different locale you can override any property, including the page’s pathname, metadata, and SEO tags.

You can also localize a visually created component. While in a localized page, select the component and click Edit component. Make your changes, and then click Save. The changes made will be saved for that specific locale and will not affect the component for the base locale.
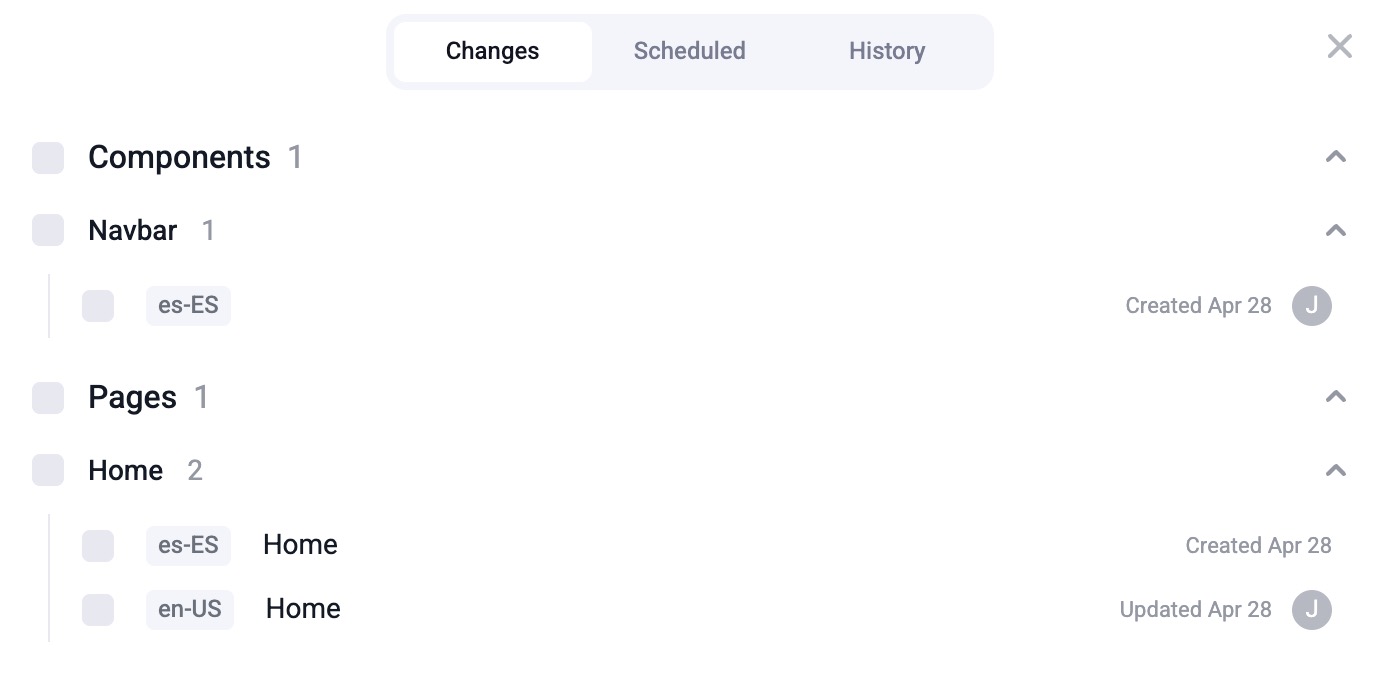
Publishing
Remember that localized content (pages, components, etc.) needs to be published just like any other resource. After you’re done making all of your changes, publish them for these changes to go live. In the publish dialog, you’ll be able to see the locale attached to each resource.