App Router
The fastest way to get started with Makeswift on a new Next.js project is to follow the quickstart guide. If you have an existing Next.js application or want to set things up yourself, continue with the rest of this guide.
This installation guide is built for Next.js 15 but also works with Next.js 13 and Next.js 14.
System requirements
- Node.js 20.19 or a later version.
- macOS, Windows (including WSL), and Linux are supported.
If you don’t already have a Next.js project, head over to the Next.js documentation to get one set up. If you do have one, please verify you are using Next.js 13.4 or a later version that is using App Router.
If you are not using App Router, here’s how to incrementally adopt it.
This code in this guide assumes you are using a src directory and have the following path aliases configured.
If your setup varies from this, please adjust the code snippets appropriately.
Install dependencies
Install the @makeswift/runtime package. This package contains all of the necessary
code to integrate Makeswift into your Next.js app.
Add API key to environment variables
Requesting data through the Makeswift client requires a site API key from Makeswift. In the Makeswift builder, go to Settings > Host and copy the API key for the site.
Once the API key is in your clipboard, open your .env.local file and paste the snippet below.
Add Makeswift runtime
Create the Makeswift runtime file in src/makeswift.
Add Makeswift client
Create the Makeswift client file in src/makeswift.
Add the Next.js plugin
Next.js plugins are configured in the project’s next.config.js file by wrapping nextConfig. The Makeswift Next.js plugin whitelists Makeswift image domains and sets up rewrites to enable draft mode in the Makeswift builder.
Register components with Makeswift
Create a file for registered components called src/makeswift/components.tsx. In this example, only one component is registered. However, as you register more components, we recommend creating separate files for each component and rolling up the imports in the src/makeswift/components.tsx file. Learn more about registering components.
To ensure these your components become available in Makeswift, this components.tsx file must be imported in three different places:
- In the Makeswift Provider
- In root layout file
- In the Makeswift API Handler
You’ll do this in the next few steps.
Create Makeswift provider component
Create a client component for the Makeswift providers.
Make sure to import your src/makeswift/components.tsx file here to ensure
your registered components are available in the builder.
Update the root layout
In your root layout, wrap your app with the MakeswiftProvider component created in the last step and import the registered components.
Add a route for Makeswift pages
Create an optional catch-all route named [[...path]].
This catch-all route will fetch page data from Makeswift and pass it to be rendered in the Page component.
Delete the root page component src/app/page.tsx file to ensure that all pages (including the home page) are managed by Makeswift.
Optional catch-all routes match the parent route which, in this case, would be
the root page /. If you wanted to have a hard-coded home page (not managed
by Makeswift), you could use a (non-optional) catch-all route which does not
match the parent route and uses single brackets instead (ex. [...path]).
Add the Makeswift API handler
Similar to NextAuth.js, Makeswift uses an API handler to communicate with your Next.js app. Create the file src/app/api/makeswift/[...makeswift]/route.ts.
It is important this file has that exact name and path. The extension can be
.js or .ts.
This API route adds support for Draft Mode, on-demand revalidation, and other features that make Makeswift work seamlessly with your Next.js app.
Start the local dev server
Run the local development script. This will start the Next.js app at http://localhost:3000.
If port 3000 is already in use, Next.js will try port 3001, then 3002, and so forth until it finds an
unused port.
Add your app’s URL to Makeswift
Finally, open the Makeswift builder, navigate to Settings > Host, and add your app’s URL. If you haven’t changed anything in the example and the server is running on port 3000, the app’s URL should be
http://localhost:3000.
When you’re ready to deploy, set up a separate site and use your deployment URL
instead of http://localhost:3000. You can keep this site for local development.
Start building
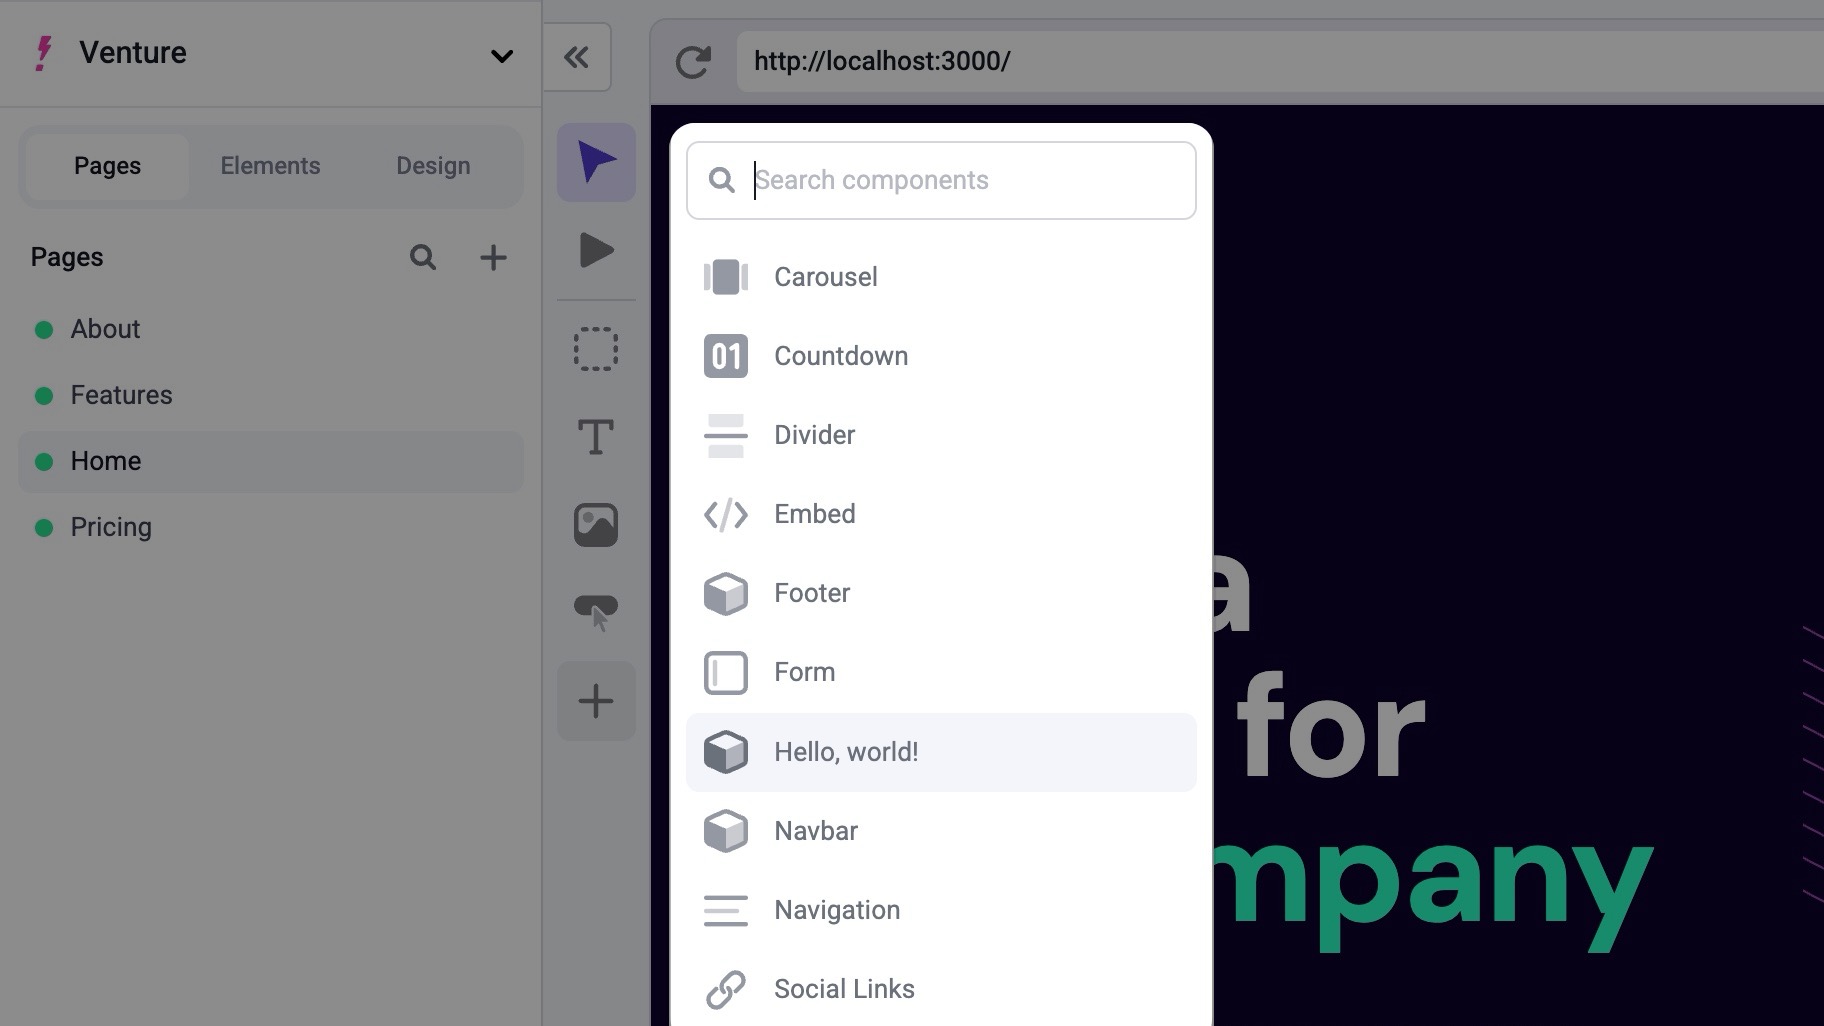
Great job! You should be able to create a page in Makeswift and start dropping in registered components from the left toolbar.
Next Steps
Here are a couple of ideas for what you might want to do next.