Netlify
Learn how to deploy your Makeswift application to Netlify.
This guide uses the Netlify dashboard to deploy your Makeswift application. Alternatively, you can use the Netlify CLI.
Prerequisites
You’ll need a Makeswift site. If you don’t already have one, you can follow the developer quickstart or installation guide to get started. You’ll also need:
- A Git repository (full list of Netlify supported Git providers)
- Netlify account (sign up)
Create new project in Netlify
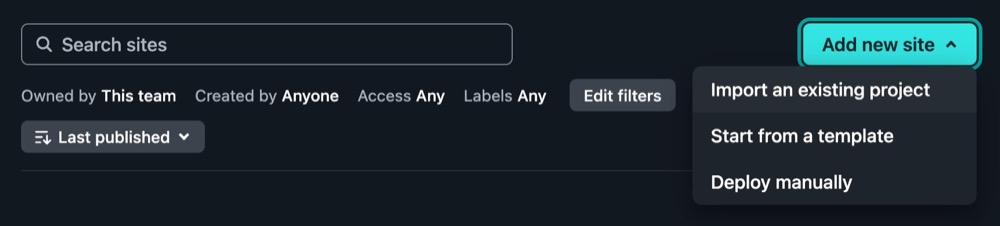
Within the Netlify dashboard, choose Add new site… > Import an existing project from the top right of the Sites page.
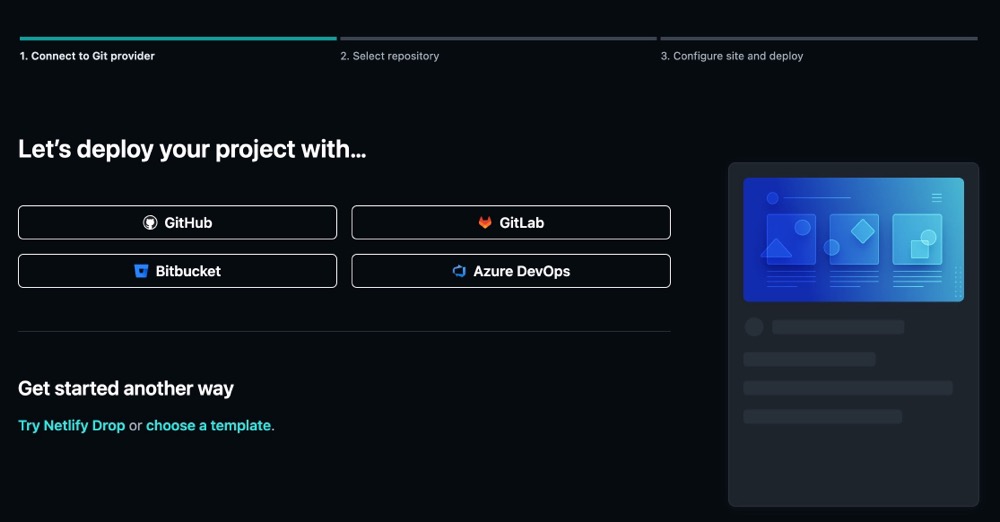
Connect to Git repo
In the Connect to Git provider section, choose your Git repository. If you haven’t already, you may need to authorize Netlify to have the correct access to your Git provider.
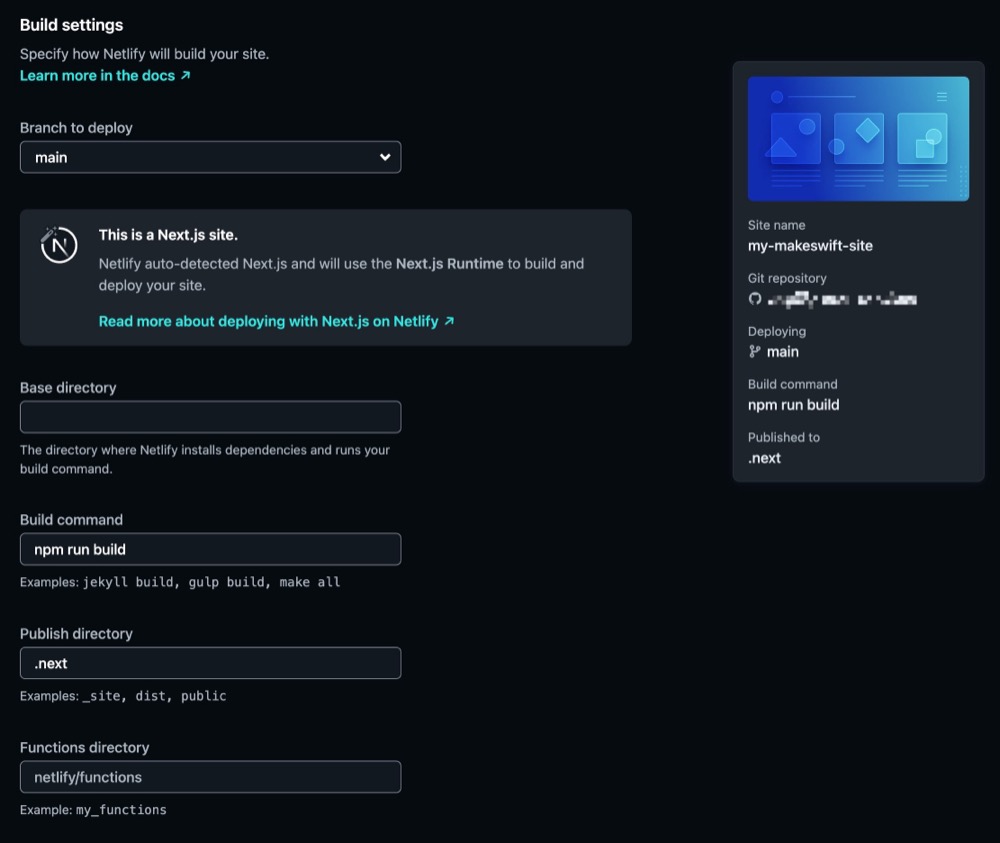
Project settings
Netlify will automatically attempt to generate the correct settings for your project. Ensure these settings match your project setup.
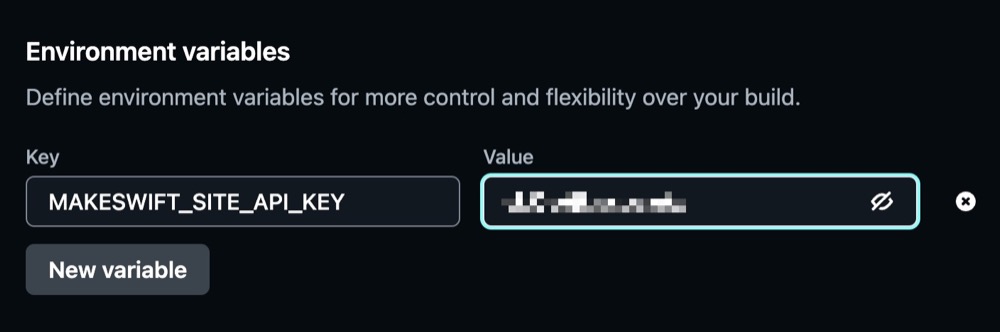
Environment variables
You’ll need to include your Makeswift API key which you can find in the Makeswift Visual Builder under Settings > Host.
Add your API key to the Environment Variables section with a key of MAKESWIFT_SITE_API_KEY.
Deploy
After you finished configuring your settings, click the Deploy button. Netlify will build and deploy your Makeswift application. After the build has finished, you should see a success message with a link to your deployed site.