While Makeswift is a part of BigCommerce, Catalyst and Makeswift are
completely decoupled solutions. This is to say that Catalyst and Makeswift can
be used in conjunction, or independent of one another. While they are separate
solutions, both are built to be heavily integrated with one another. This
guide serves as a supplement to the documentation available on Catalyst’s
Getting Started documentation.
Prerequisites
1. Node.js version 20.x
Catalyst currently supports Node.js version 20.x (click here to download Node.js)2. Corepack-enabled pnpm
Node.js version 20.x ships with Corepack by default; you should be able to run corepack enable from your terminal to meet this prerequisite (more information on the official Node.js Corepack documentation)3. Git version 2.35.x or later:
Click here to download Git4. A BigCommerce store or sandbox
You can create a trial store or spin up a developer sandbox to meet this prerequisite. If you already have a BigCommerce store, that will work fine too.5. A Makeswift workspace.
If you have not created a Makeswift workspace, do so ahead of time here.6. Permission to create API accounts on your store
In order to allow Catalyst to authenticate with your BigCommerce store, you’ll need to make sure that your user account on the subject store has been granted theCreate store-level API Accounts permission detailed in our documentation on High-Risk Permissions. If you are the assigned store owner of the store, you have these permissions implicitly.
7. A GitHub account
You can sign up for a free GitHub account on the official GitHub signup page.Steps
1
Follow the instructions on Catalyst's Doc Site
- CLI
- Monorepo
Run the Catalyst CLI to pull down the latest version of the Catalyst Once you run the CLI, you effectively have a Catalyst Next.js application created. The remaining steps will walk you through integrating your Catalyst application with Makeswift.
main branch of the Catalyst monorepo. The CLI is built to do the following:- Fork and clone the Catalyst monorepo.
- Add a remote pointing to the upstream Catalyst repository.
- Enable Corepack so that you can use pnpm as your package manager.
- Install Catalyst Dependencies.
- Set up environment variables.
2
Fetch the Makeswift integration branch
The Makeswift Catalyst integration is a branch available in the upstream GitHub repository that can be checked out locally.
3
Update environment variables
Update the root 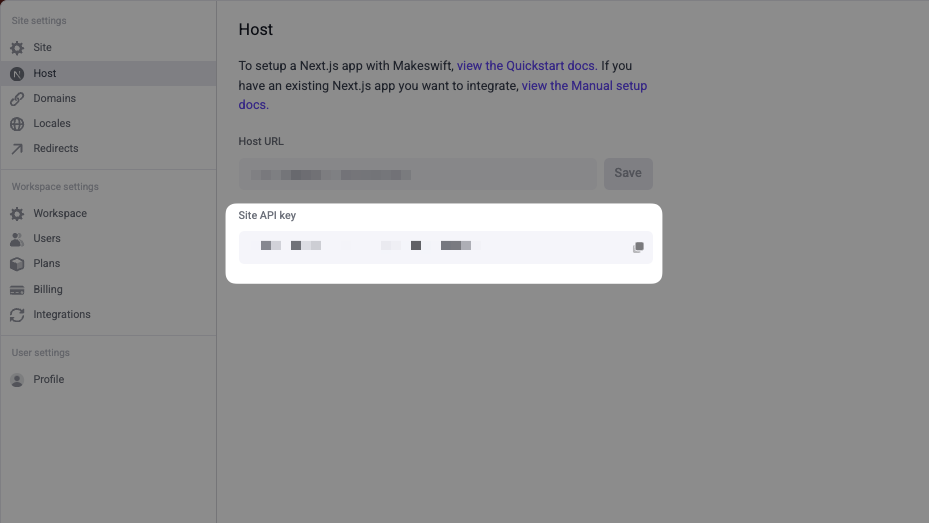
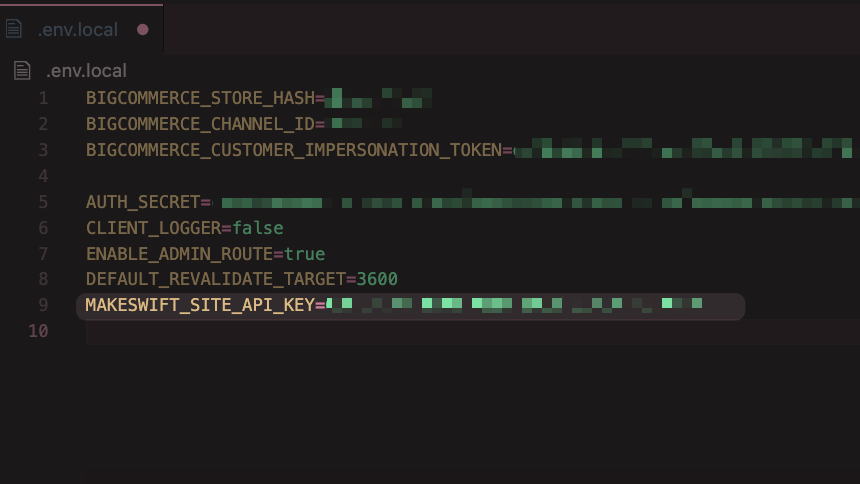
.env.local file with your
Site API Key located under your Host settings in Makeswift.In your Makeswift Host settings
.env.local file with the following key name:In your codebase
.env.local file.4
Run your development server
Install dependencies to match the current branchStart the development server
5
Update host settings
Within the Makeswift Site Settings, update the host to the URL of your locally running project. By default, it should be
http://localhost:3000.6
Create a new page
Create a new page within Makeswift. We recommend starting with a Blank Page.
In the builder