Localization
Localization involves adapting a website’s content, layout, and functionality to meet the cultural, linguistic, and regulatory requirements of a specific target audience or geographic region. It goes beyond translation to ensure the website is effective and engaging for the local audience.
Adding locales
Makeswift’s localization feature allows you to manage localized versions of your web pages directly within the builder. You’ll need to configure your locales in code, and then add them into the Locales settings within Makeswift to enable the locale toggle in the builder.
Localization is available on all Makeswift plans. Refer to your plan for full details and upgrade options if you need more locales.
Add locales in the Makeswift builder
Click “Settings” and go to the “Locales” tab.
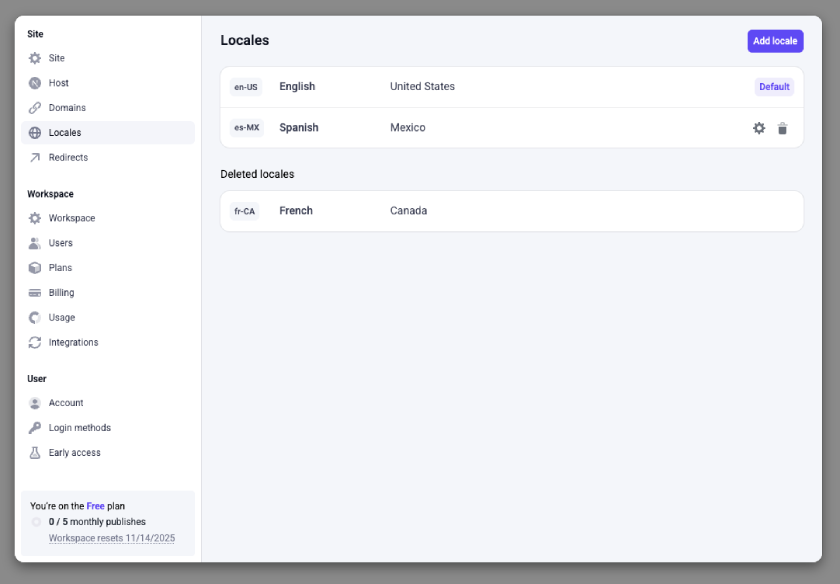
To add a new locale, click the “Add locale” button. To modify or delete existing locales, hover over the locale and use the edit or delete button. The default locale cannot be deleted.
When adding or editing a locale, you can specify its language and region. A locale can apply to a single geographic region, or all regions. For sites with localized domain names, you can optionally specify a domain URL for each locale. For example, mysite.com might use mysite.co.uk and mysite.com.au for the United Kingdom and Australia, respectively.
Configure locales in your Next.js config
For detailed instructions on setting up locales, see our developer docs on localization.
Edit your pages in the builder
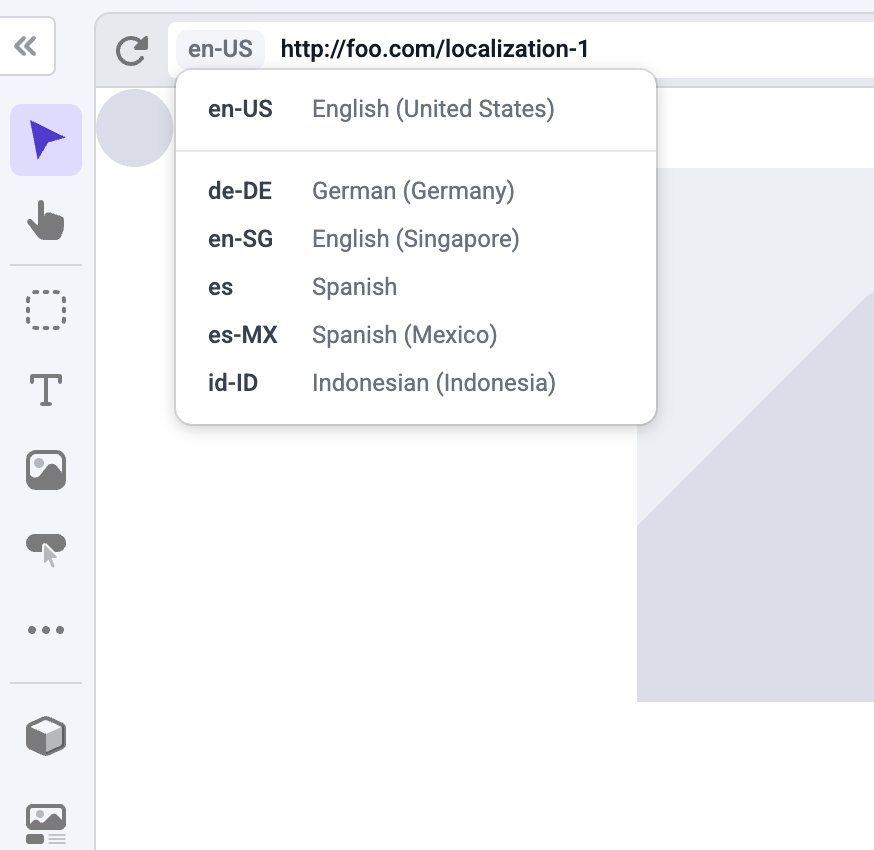
Once you’ve finished setting up your locales in Makeswift and in your codebase, you should be able to switch to different locales using the locale switcher in the builder browser bar.
When making changes in a different locale you can override any property, including the page’s pathname, metadata, and SEO tags.
You can customize the path for each page in each locale. For example, if you
have a company page at example.com/company, you can create the Spanish
version of the page at example.com/es/compania or example.es/compania.
Localization fallback
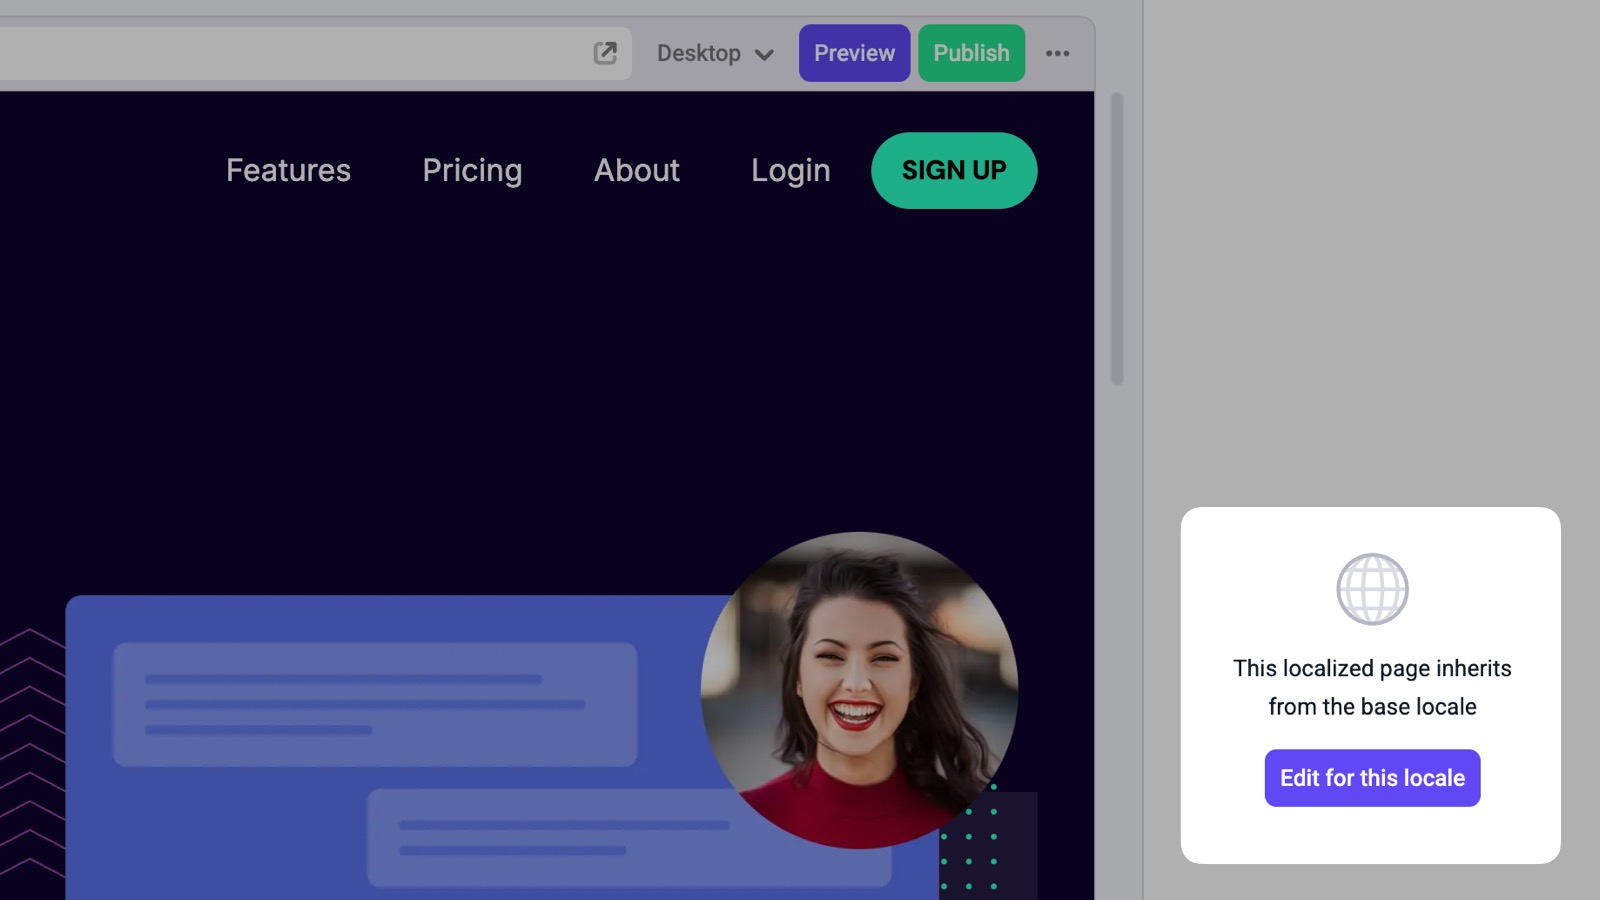
Localized pages inherit the design and content of the default locale when initially created.
To customize a page for a specific locale, click the “Edit for this locale” button. Any changes you make will be saved only for the localized version of the page.
Localized global components
You can also localize a global component. To do this, edit a global component within a localized page and then save the global component.
You must save a global component in a locale before switching and editing it in another locale.